CloudTAK Server Administration Guide🔗
Introduction🔗
Welcome to the CloudTAK Server Administration Guide. This document provides comprehensive instructions for configuring, and managing the CloudTAK server. Whether you are a system administrator or a technical user, this guide will help you ensure that your CloudTAK server is running smoothly and efficiently.
Admin Panel🔗
The admin panel can be accessed once logged in to the CloudTAK Map View.
| Large Device Side Menu | From within the Main Menu |
|---|---|
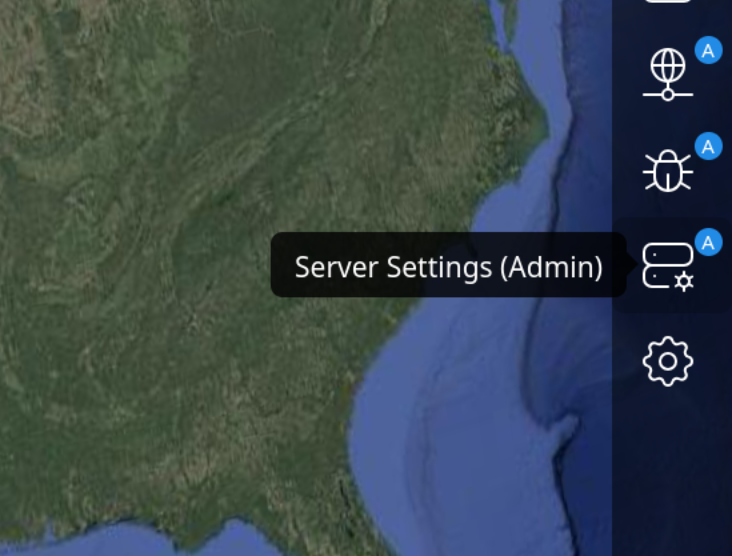 | 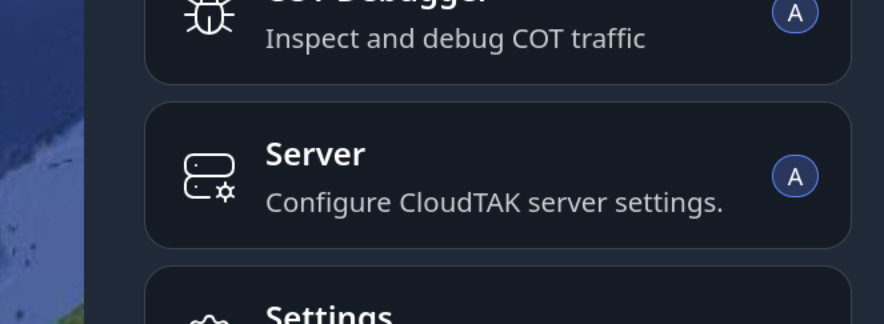 |
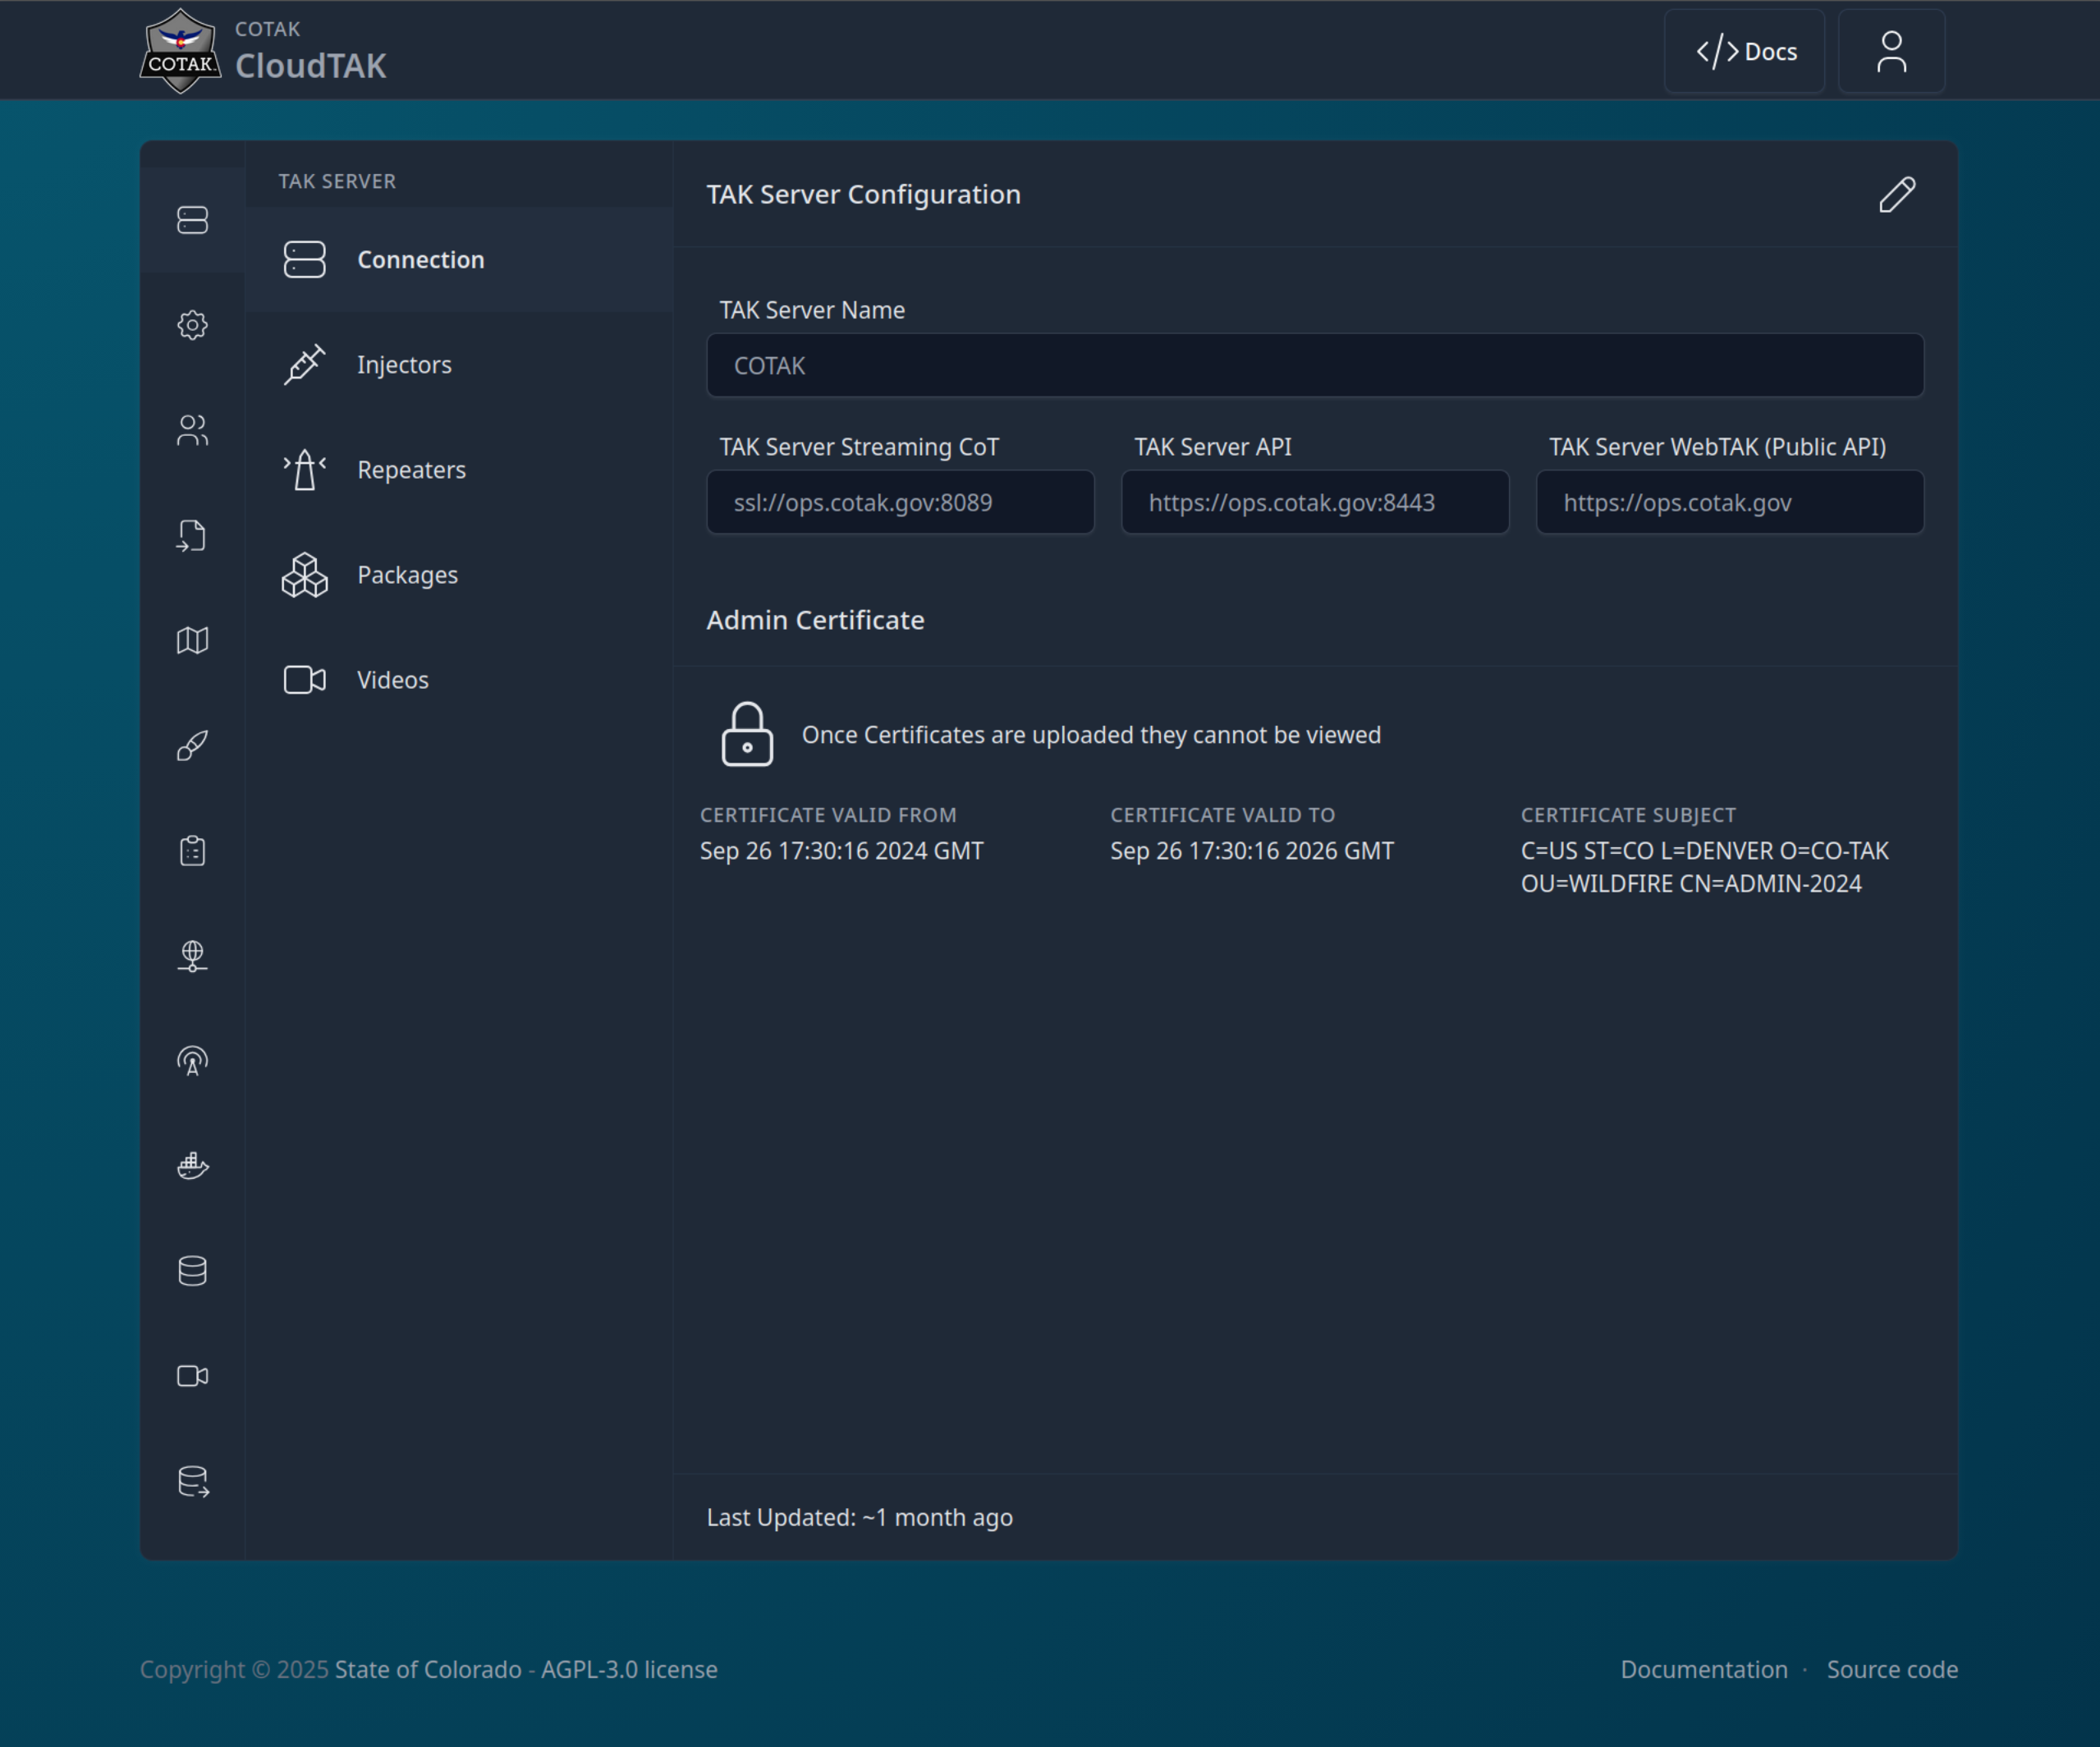
Once you enter the Admin Panel, you will get a screen like the following:
CloudTAK Settings🔗
The CloudTAK Settings section of the Admin Panel allows you to configure the default behavior of the CloudTAK server instance.
From the Admin Page, select the CloudTAK Settings Menu Item on the left:

CloudTAK can be configured to use a custom logo and naming scheme to more easily identify and customize the server to fit your agency.
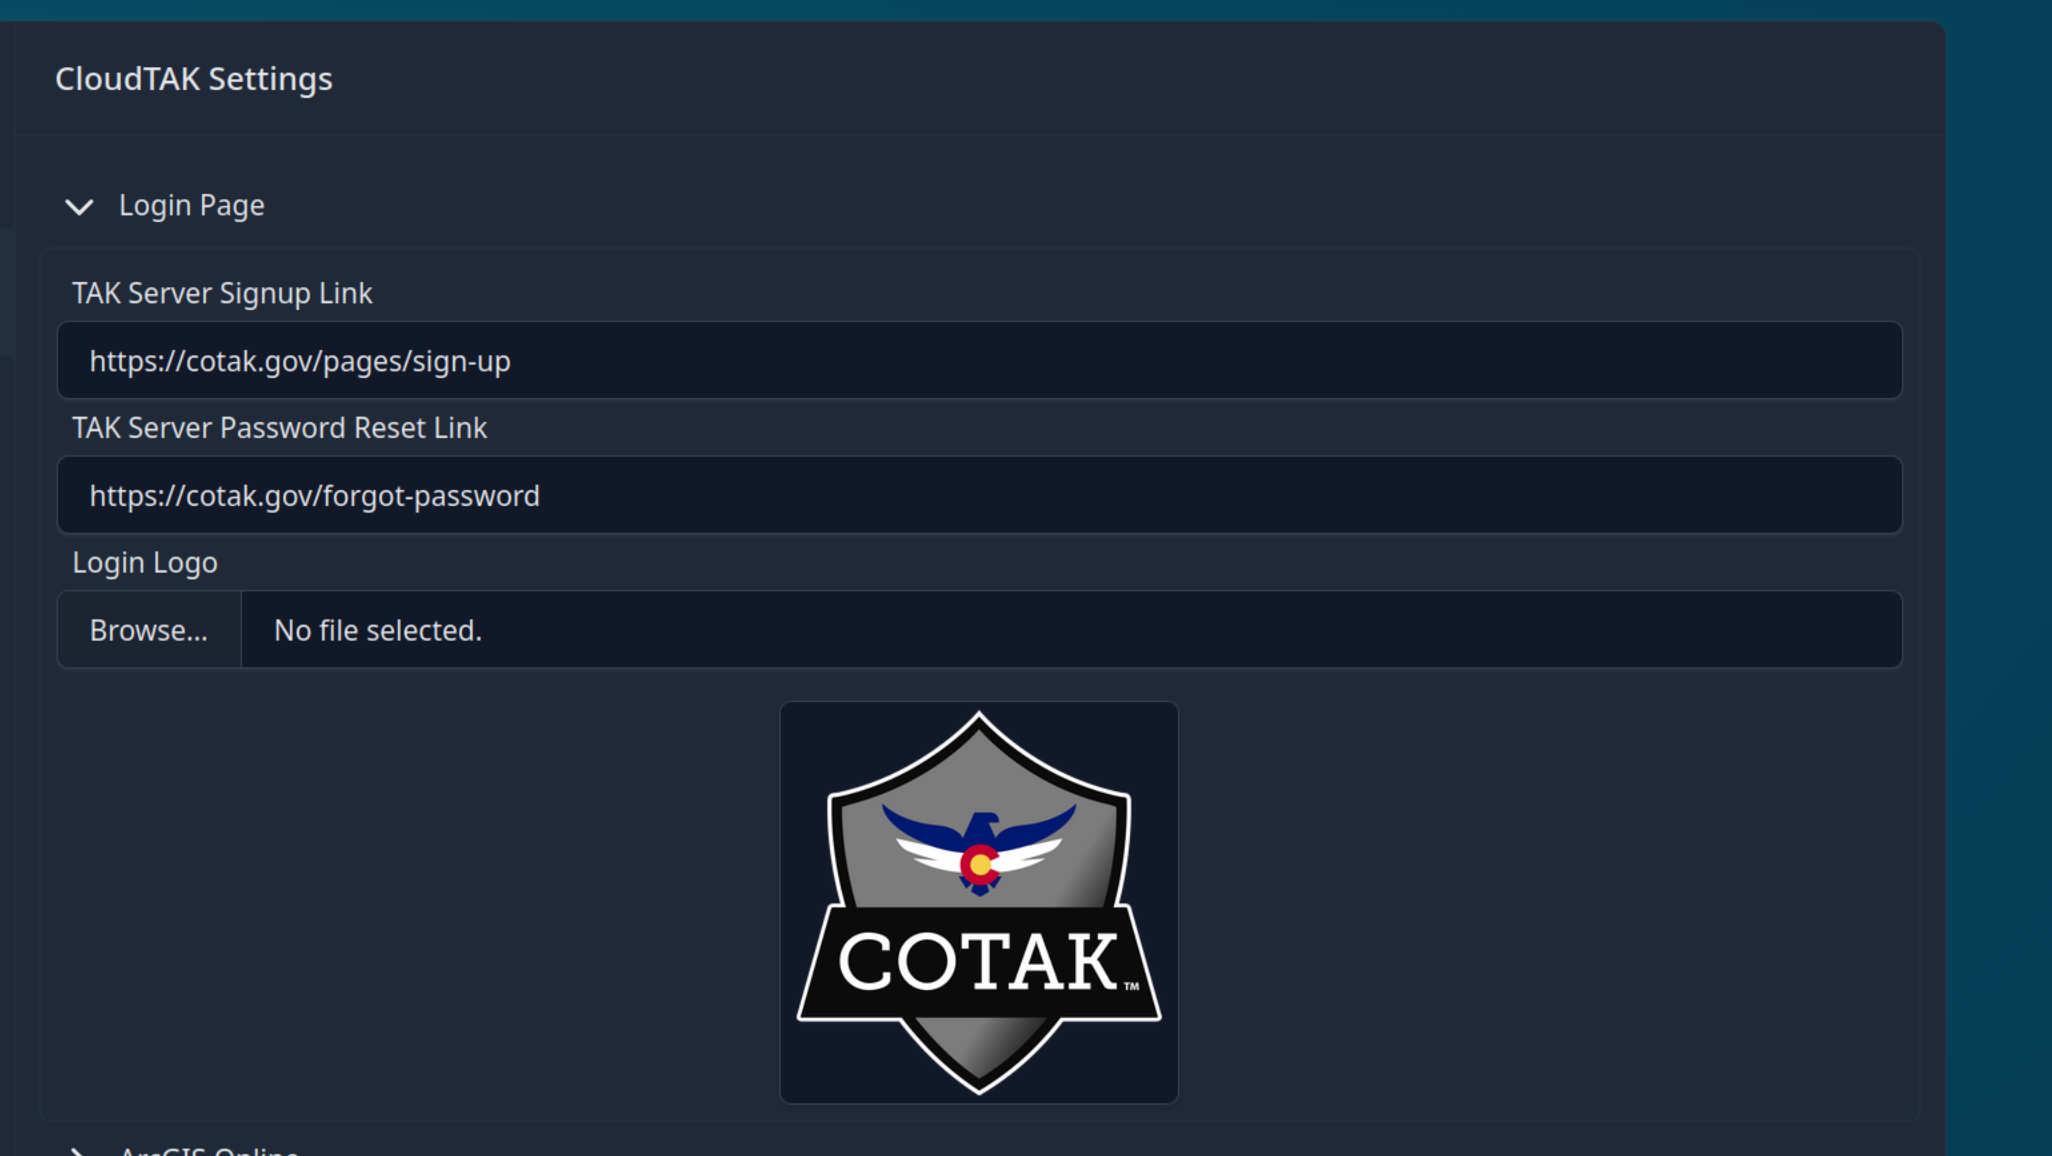
To configure, select the "Login Page" option and then the Pencil icon in the upper right-hand corner to edit.
Add any or all of the options you wish to customize and then select "Save Setting" in the bottom right.
Basemaps & Overlays🔗
You can enhance CloudTAK by configuring custom, high-quality basemaps and overlays to improve the user experience. CloudTAK supports a variety of map tile sources, including both standard raster imagery and modern vector tiles. You can upload or configure these sources, such as .pmtiles archives, to serve as global basemaps or specialized custom overlays.
If you are using vector basemaps, we highly recommend utilizing the standard OpenMapTiles Style Sheets to customize the map aesthetics according to your needs.
To help you get started quickly with a global vector basemap, you can download our pre-generated openmaptiles.pmtiles file using the button below:
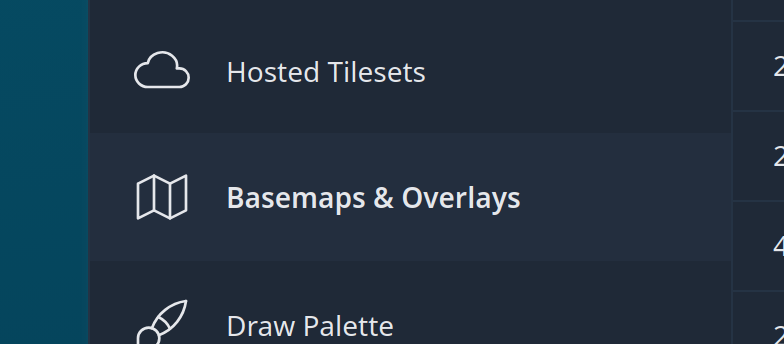
Hosted Tilesets🔗
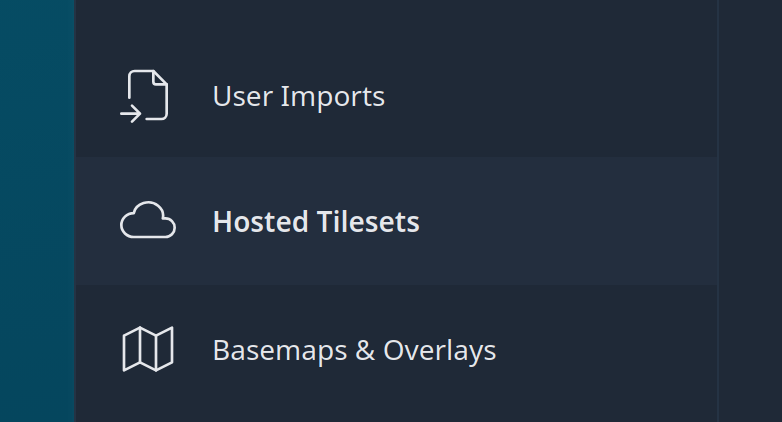
CloudTAK supports serving tiles diretly from a PMTiles Archive. To upload a PMTiles archive, from the Admin Page, navigate to the Hosted Tilesets Menu.
On the Hosted Tilesets page you can see a list of tilesets that are hosted on the server (If any).
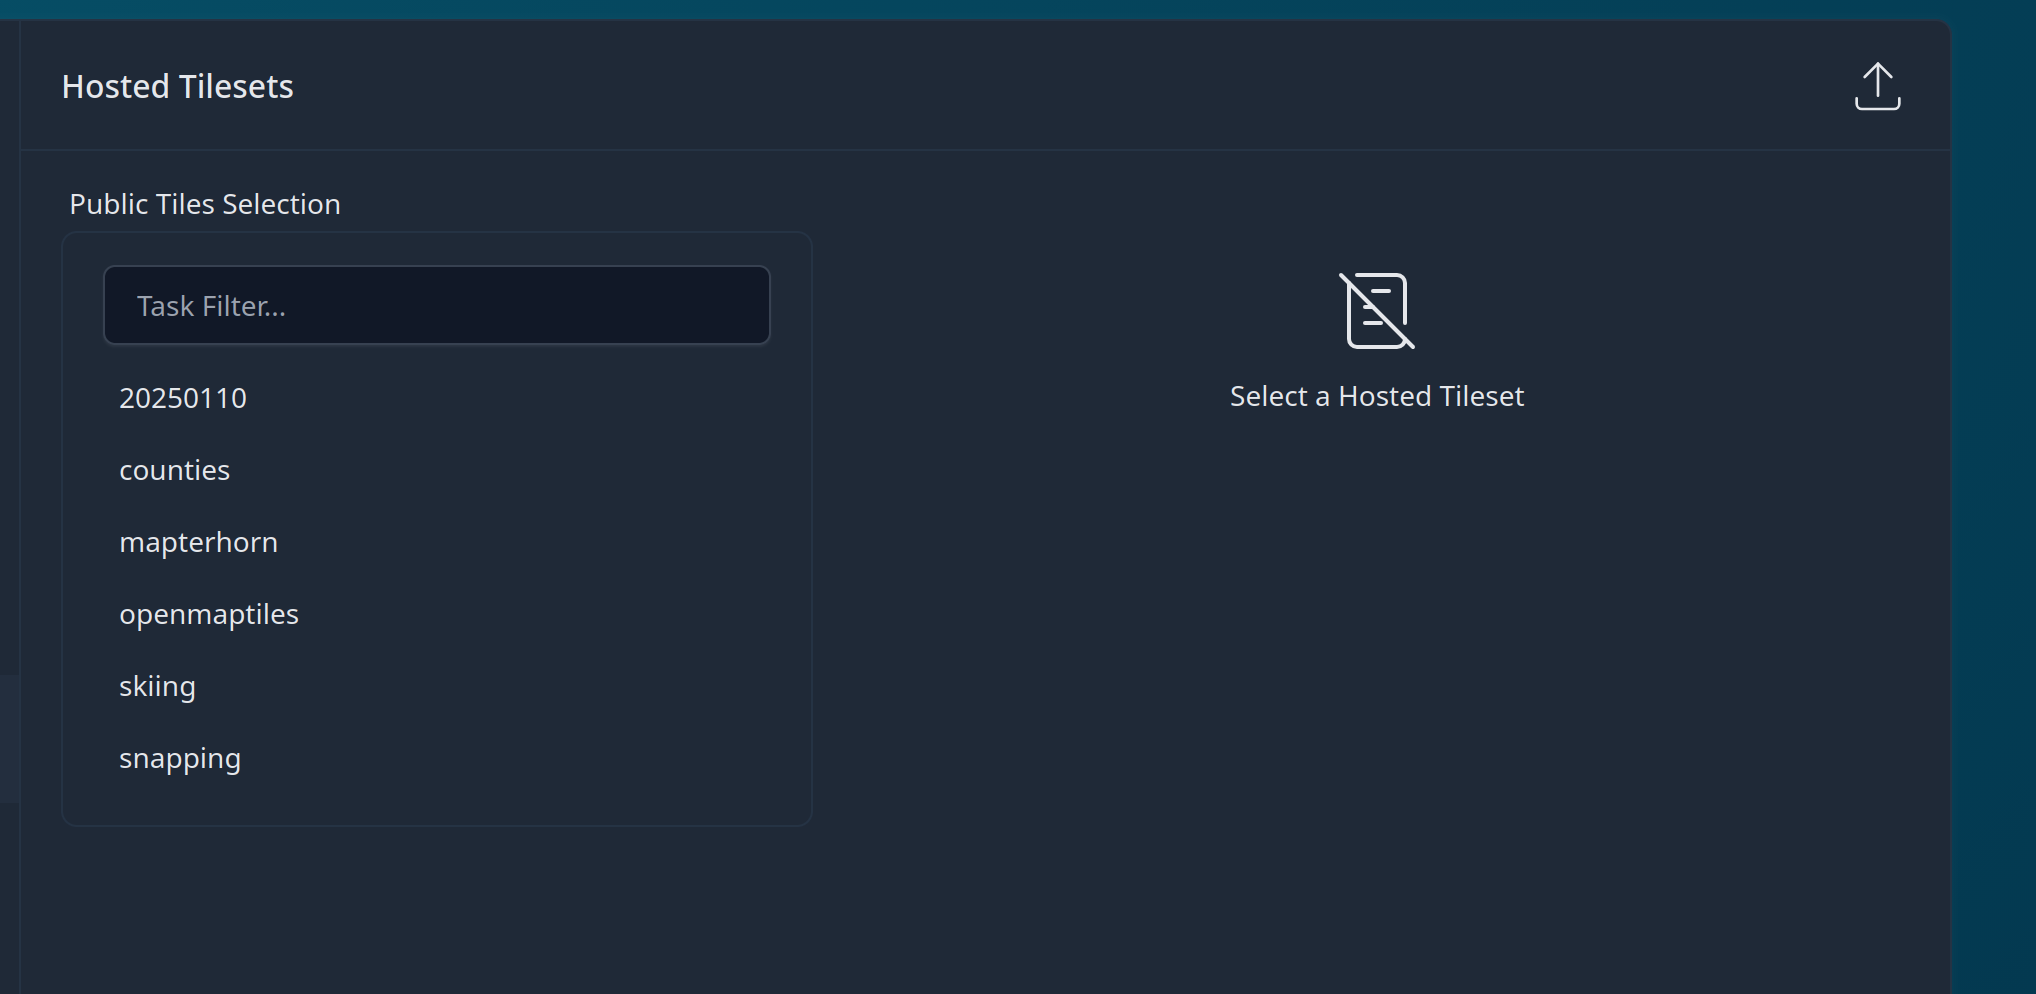
To upload a new TileSet to the server, Click on the upload button in the upper-right-hand corner.

Find the file and then start the upload.
On the backend these tilesets will be uploaded to the
public/prefix of the S3 Bucket or Compatible Store. Tiles are public to authenticated users of CloudTAK but not to unauthenticated users. Tiles themselves are served via the PMTiles Task Server.
Once the tiles have been uploaded, proceed to the next section to add a new Basemap or Overlay
Basemap/Overlays🔗
Basemaps and overlays are both layers on the map that will be visible to the user. The difference between the two are simply if the new layer should be added ontop of existing layers (an overlay), or if the layer should replace the bottom layer (a basemap). Both share the same functionality and as such we will refer to both as an overlay in this guide.
From the Server Admin page naviate to the Basemap & Overlay Menu
The Basemaps menu will show a list of current basemaps loaded into the server. By default only "public" basemaps are shown, public being basemaps that are avilable to all users of the system.
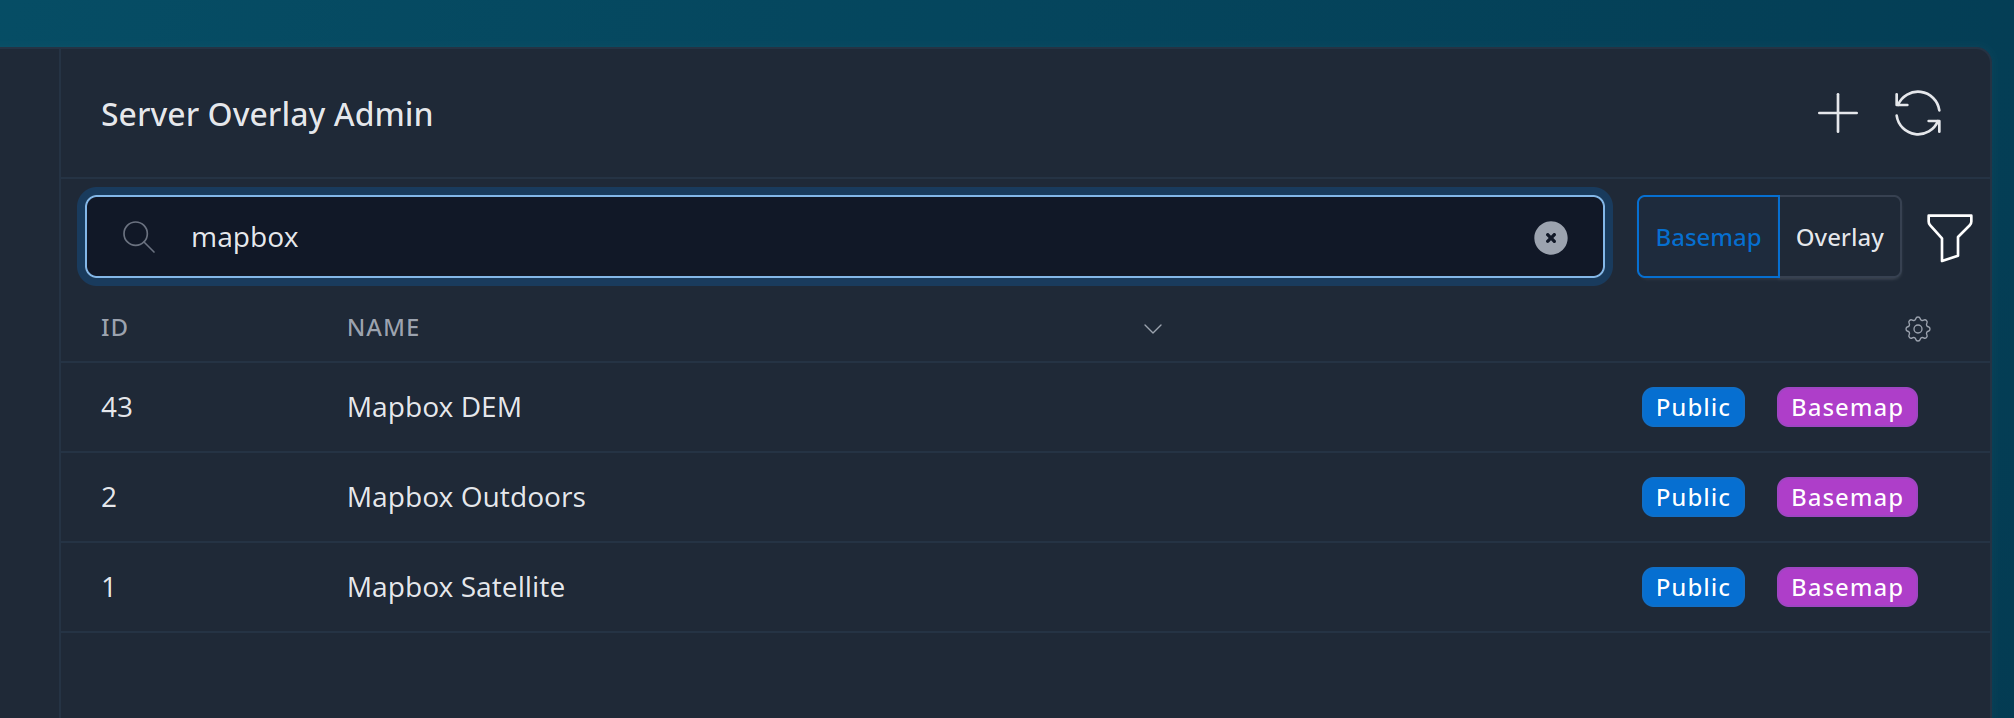
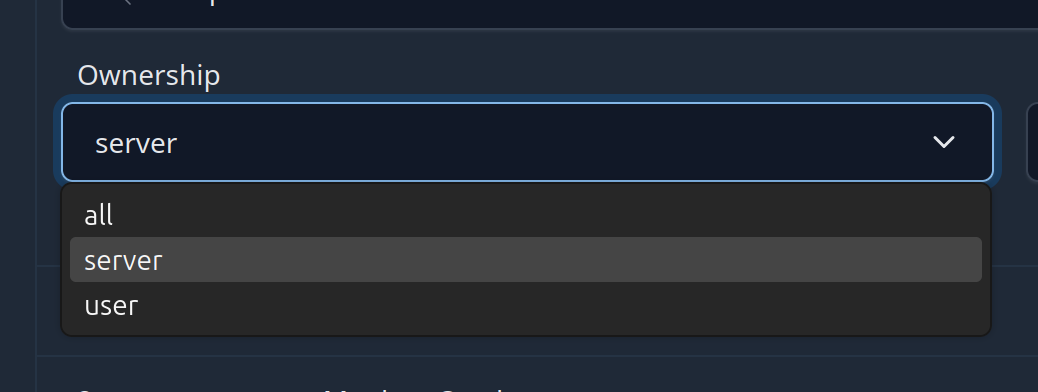
Seeing a user's personal basemaps is possible when warranted by clicking on the "Filter" icon and choosing "All" or "User" from the dropdown list.
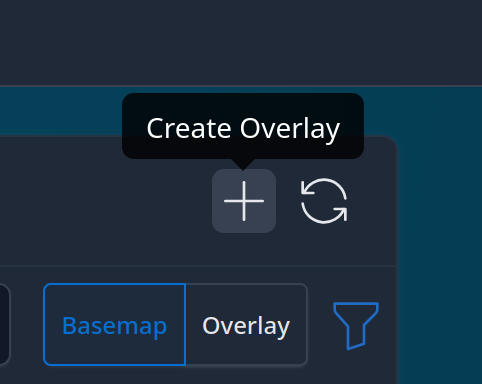
Adding a Basemap or Overlay🔗
- Click on the Create Overlay button
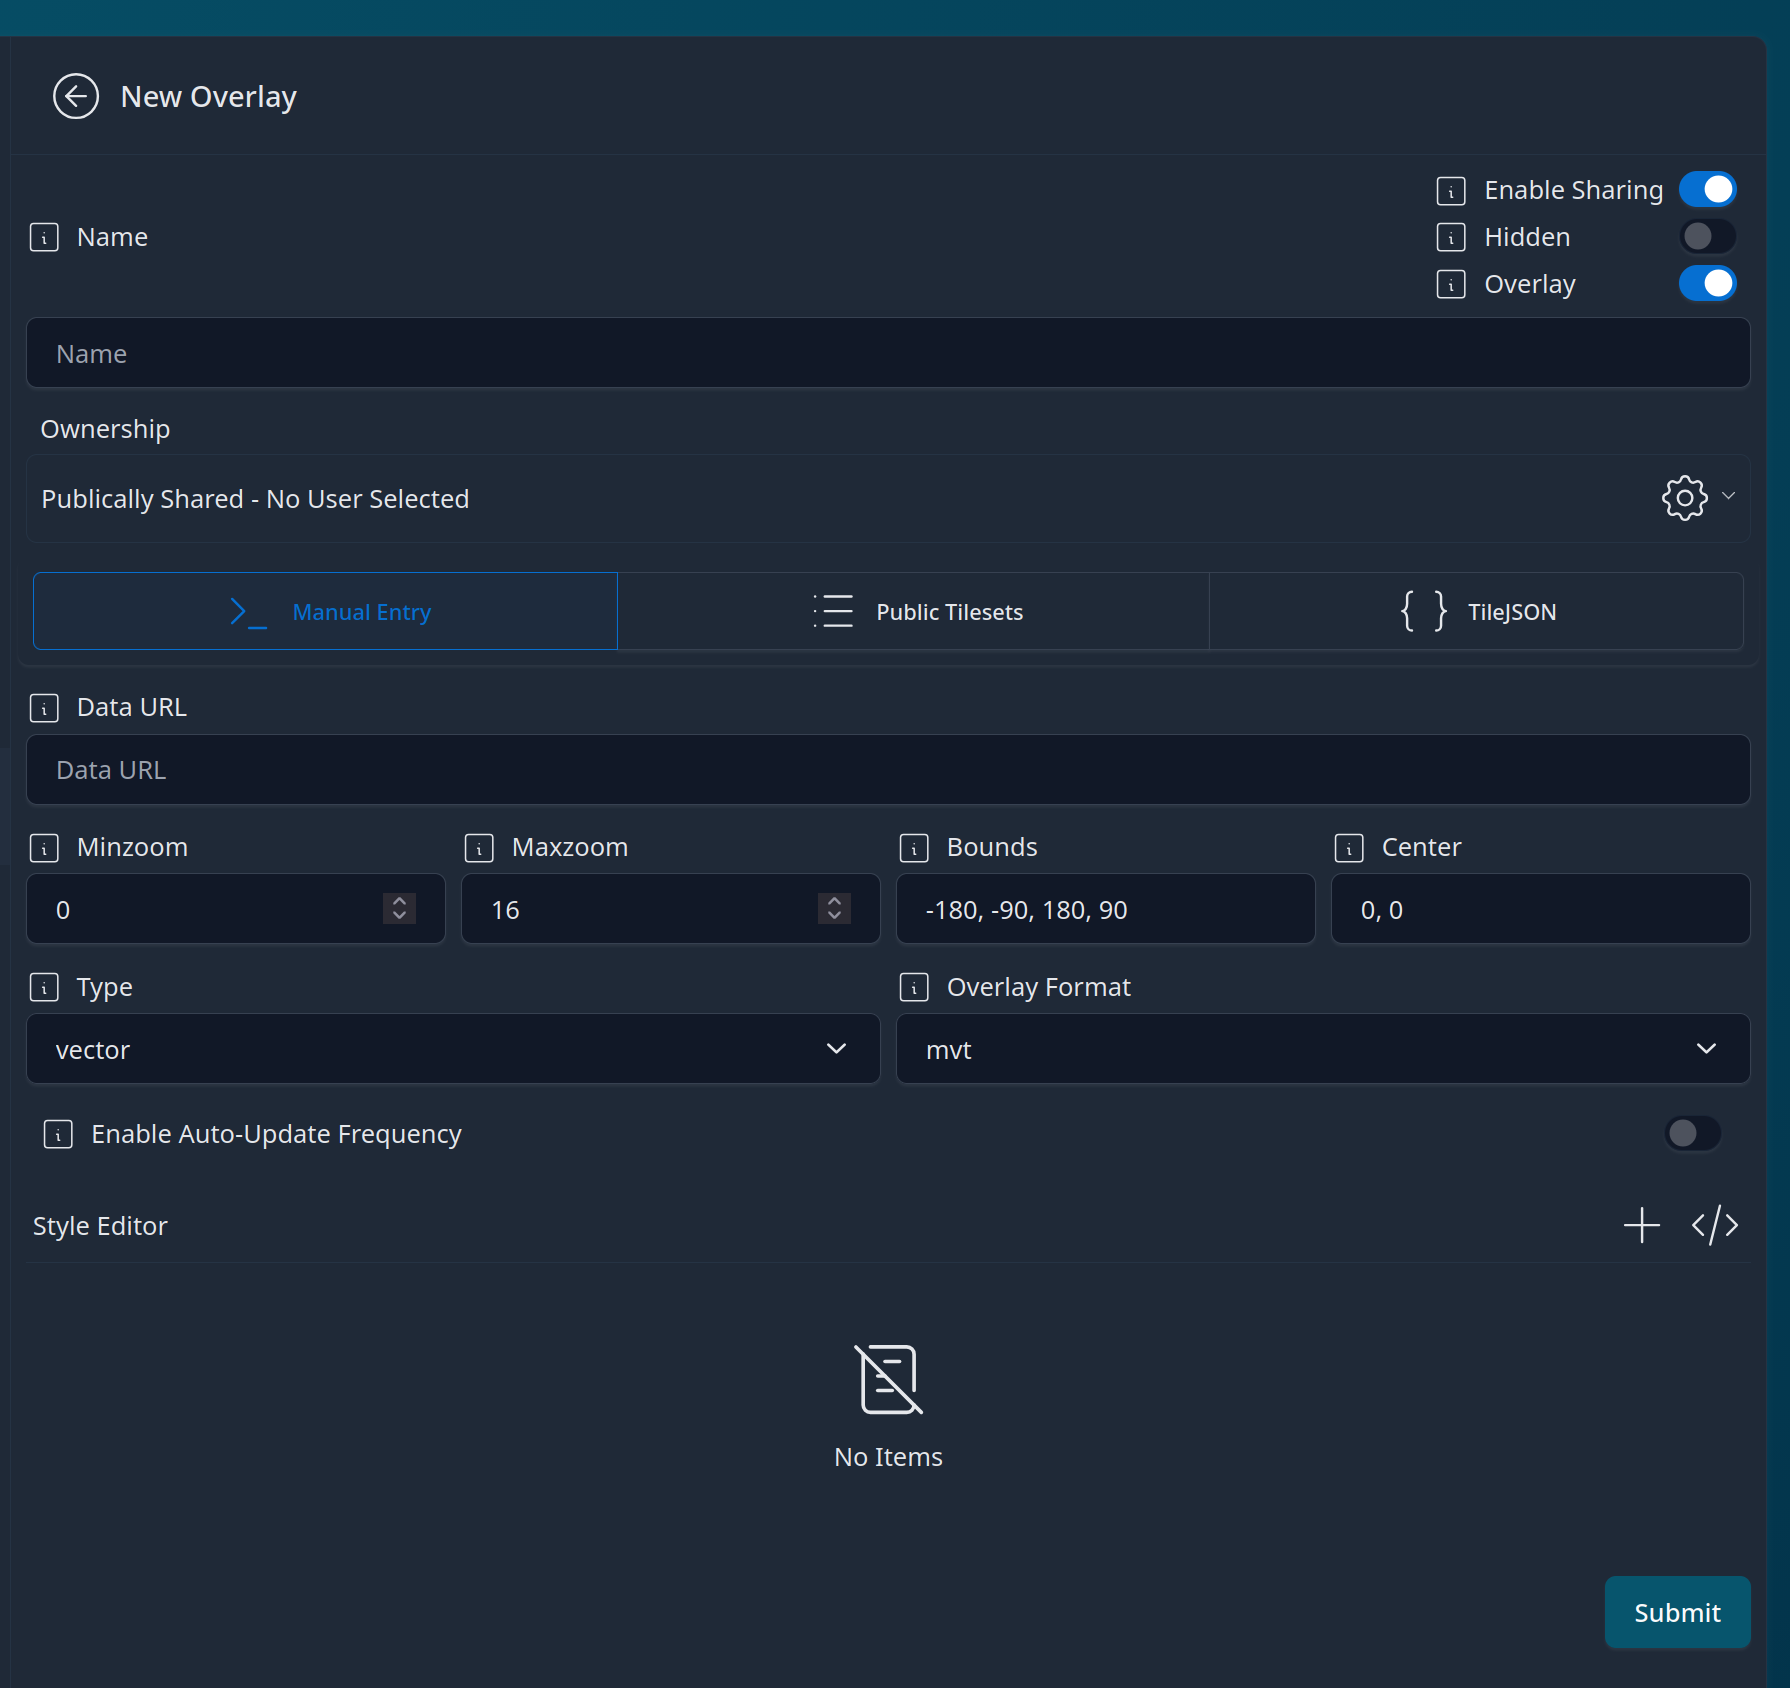
- The New Overlay Pane will open that depending on your version will look similiar to the panel below.
-
Choose a name for the basemap. Enable Sharing allows the user to share the basemap to other TAK users. Note that while disabling sharing makes it more difficult to share, the user is still able to see the tile URL and could create a personal overlay they could subsequently share. Hidden should typically only be used for snapping layers as this will cause the basemap not to be present in the default Basemap or Overlay menu.
-
If the basemap should be available to all users of the system leave the basemap as "Publically Shared", otherwise select a user from the dropdown to assign it to a specific user.
-
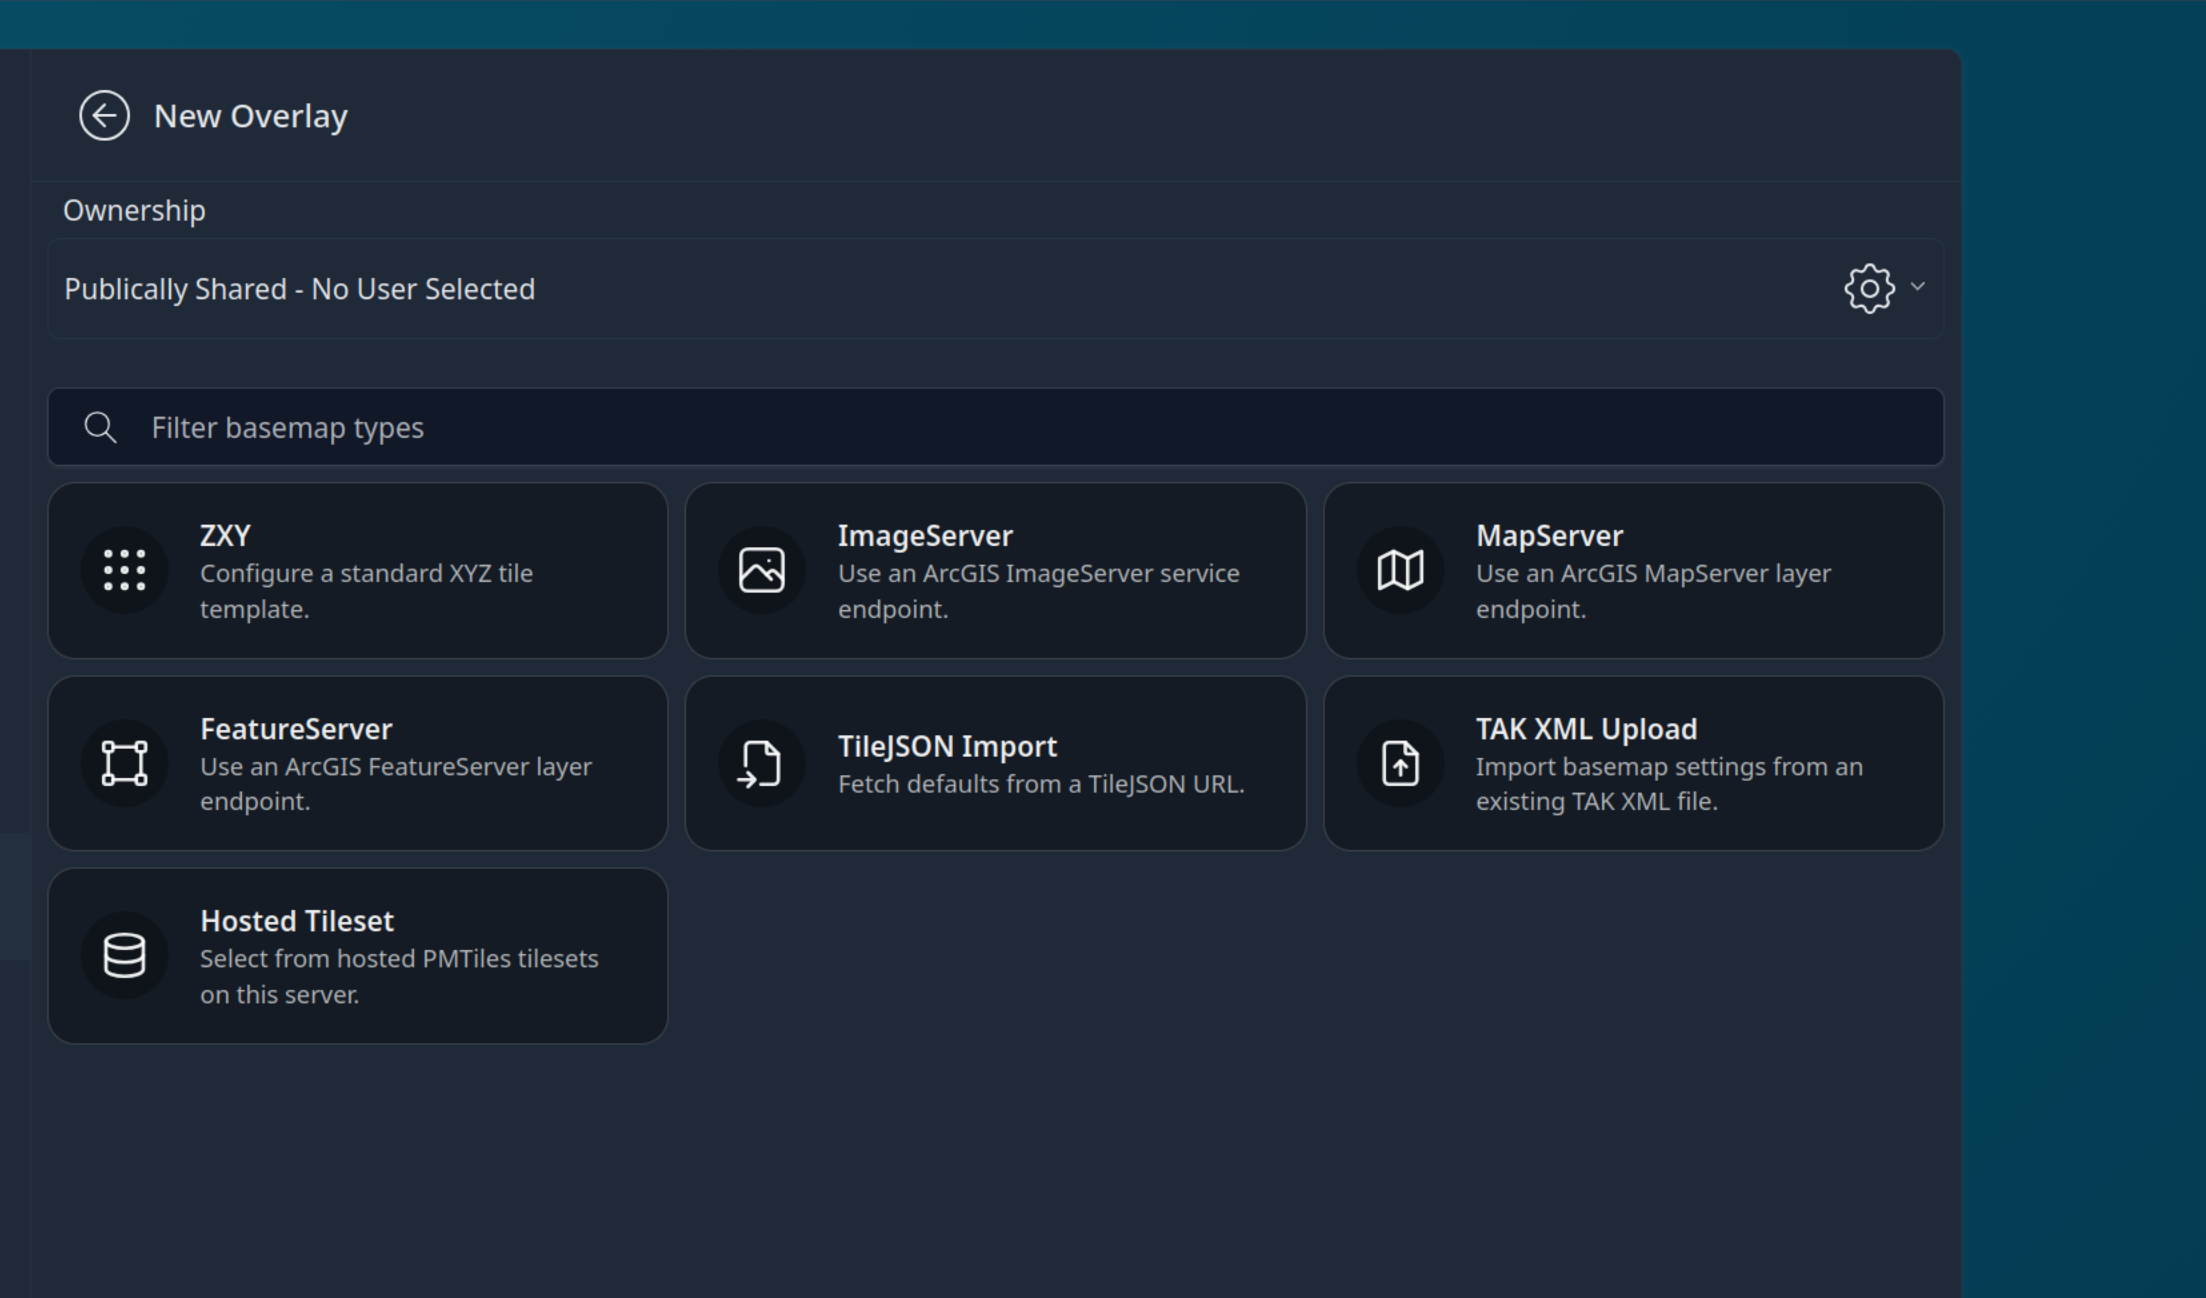
Choose the source of the Tiles, Manual Entry supports quadkey, zxy, and ESRI Servers. Some example URLs can be seen below.
-
ESRI MapServer
https://example.com/arcgis/rest/services/WorldTopo/MapServer/1
-
ESRI FeatureServer
https://example.com/arcgis/rest/services/Parcels/FeatureServer/1
-
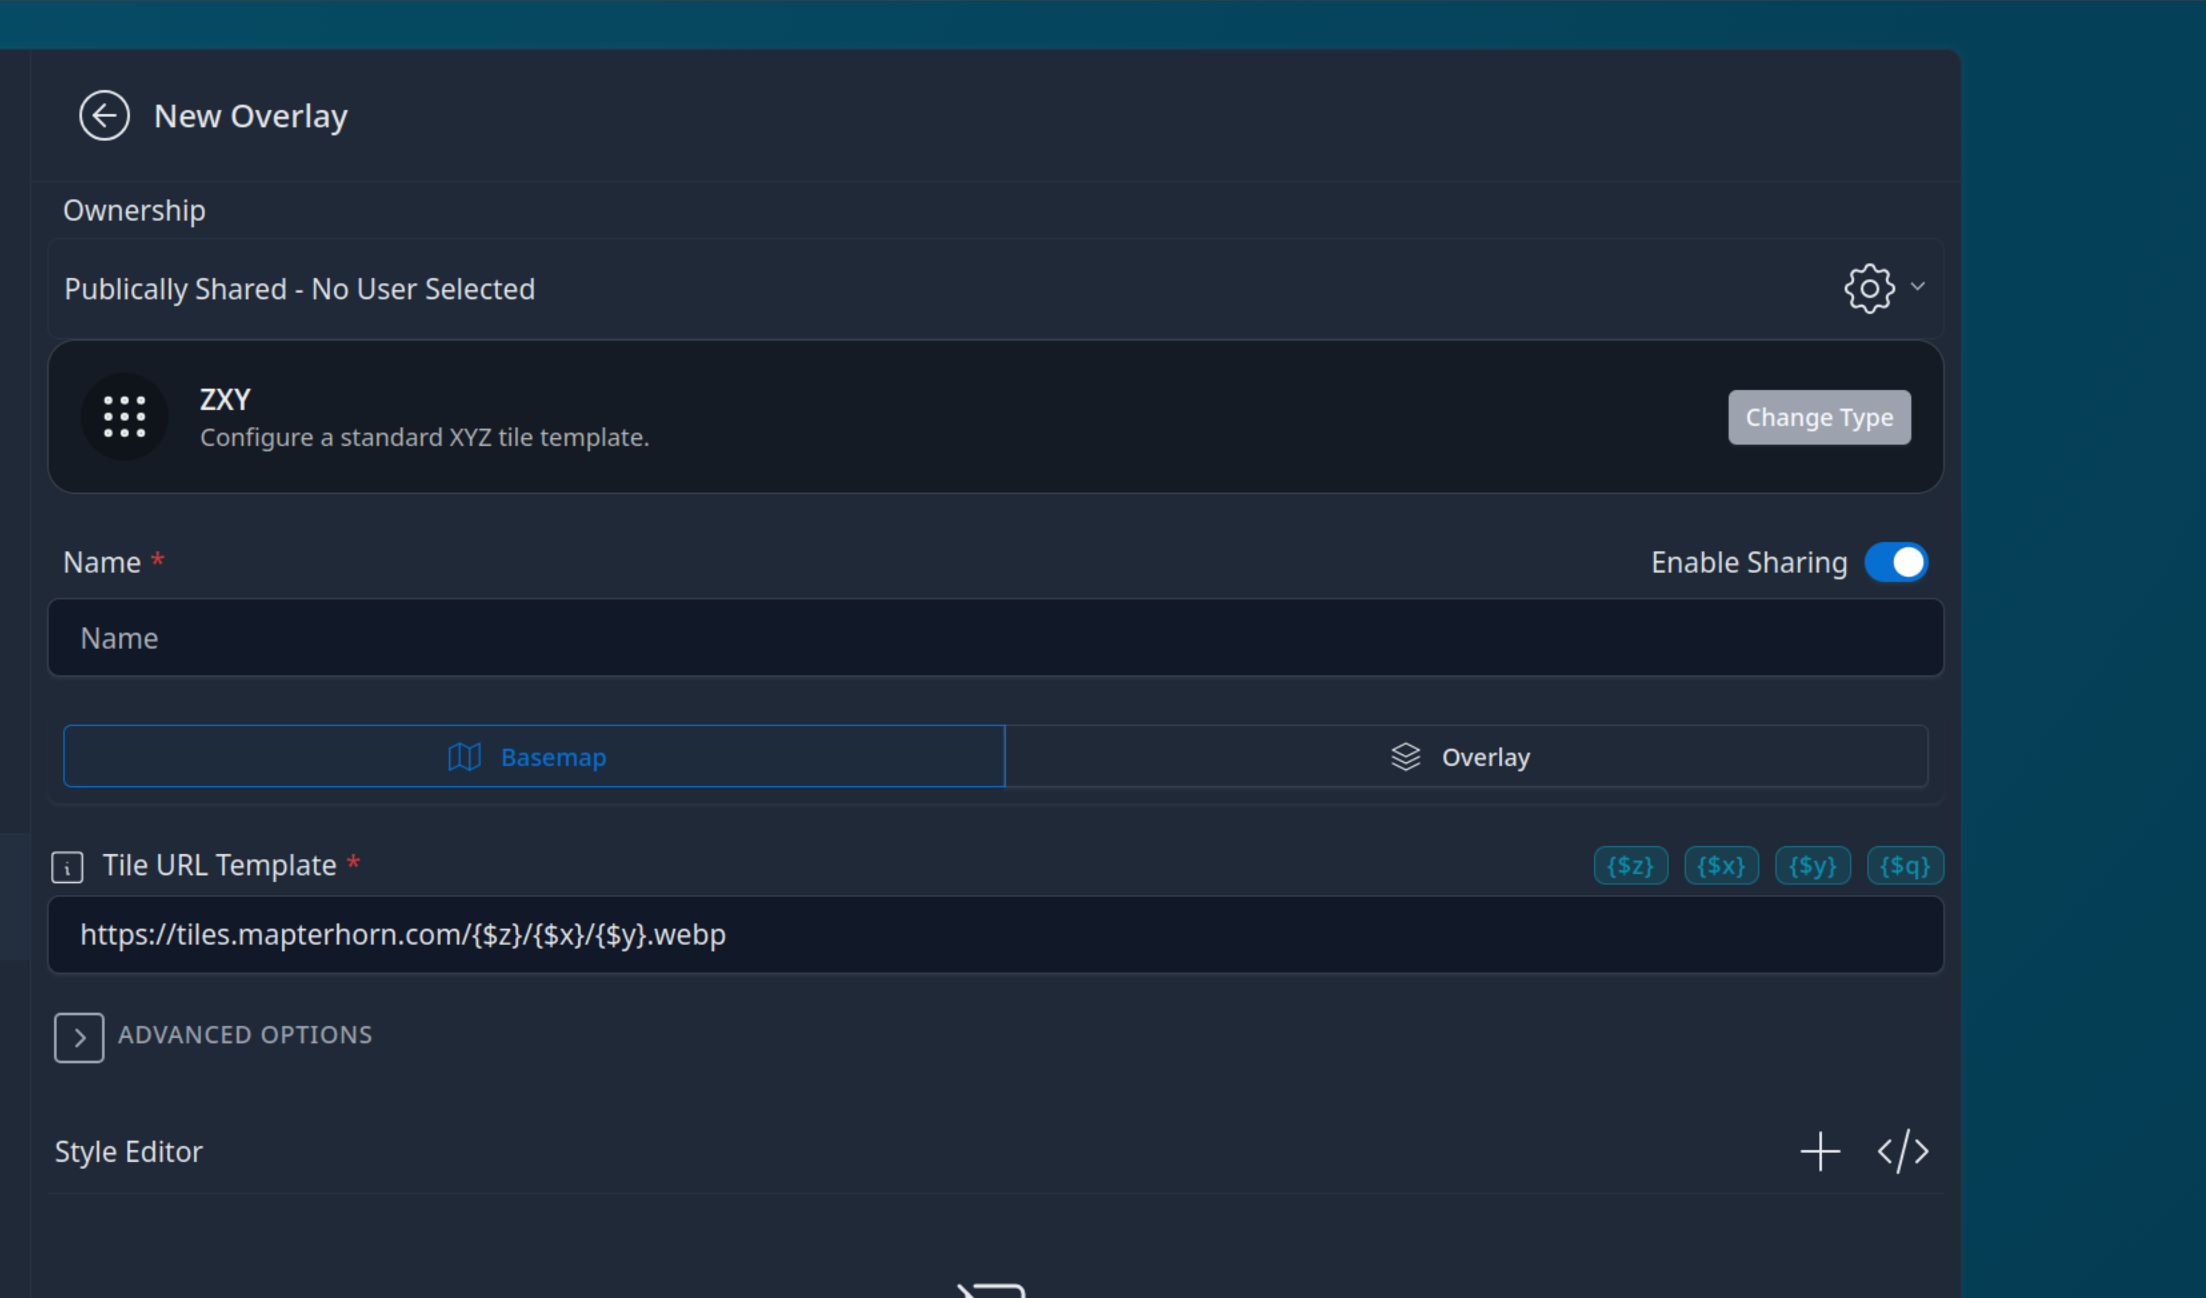
ZXY
https://example.com/tiles/{$z}/{$x}/{$y}.png
-
Quadkey
https://example.com/tiles/{$q}.png
If adding a Hosted Tileset as uploaded in the previous section, select the "Hosted Tilesets" item and select the relevant tileset from the list.
Terrain🔗
CloudTAK has support for a 2.5D environment if loaded with a DEM dataset. To do so, navigate to the Basemap/Overlay section of the Admin Panel as described above.
Create a new Basemap and select the "TileJSON Import" object from the protocol options
You can provide your own DEM source if it is in the mapbox or terrarium tile format, or use Mapterhorn, a high quality, free global elevation dataset.
If using Mapterhorn, paste the TileJSON URL
https://tiles.mapterhorn.com/tilejson.json
and select, "Fetch TileJSON"
Give the layer a name - IE "Mapterhorn DEM" and click save. To enable the layer as the default CloudTAK Terrain source and show the 3D terrain button on the map, navigate to the CloudTAK Settings option on the Admin Panel, then Map Settings
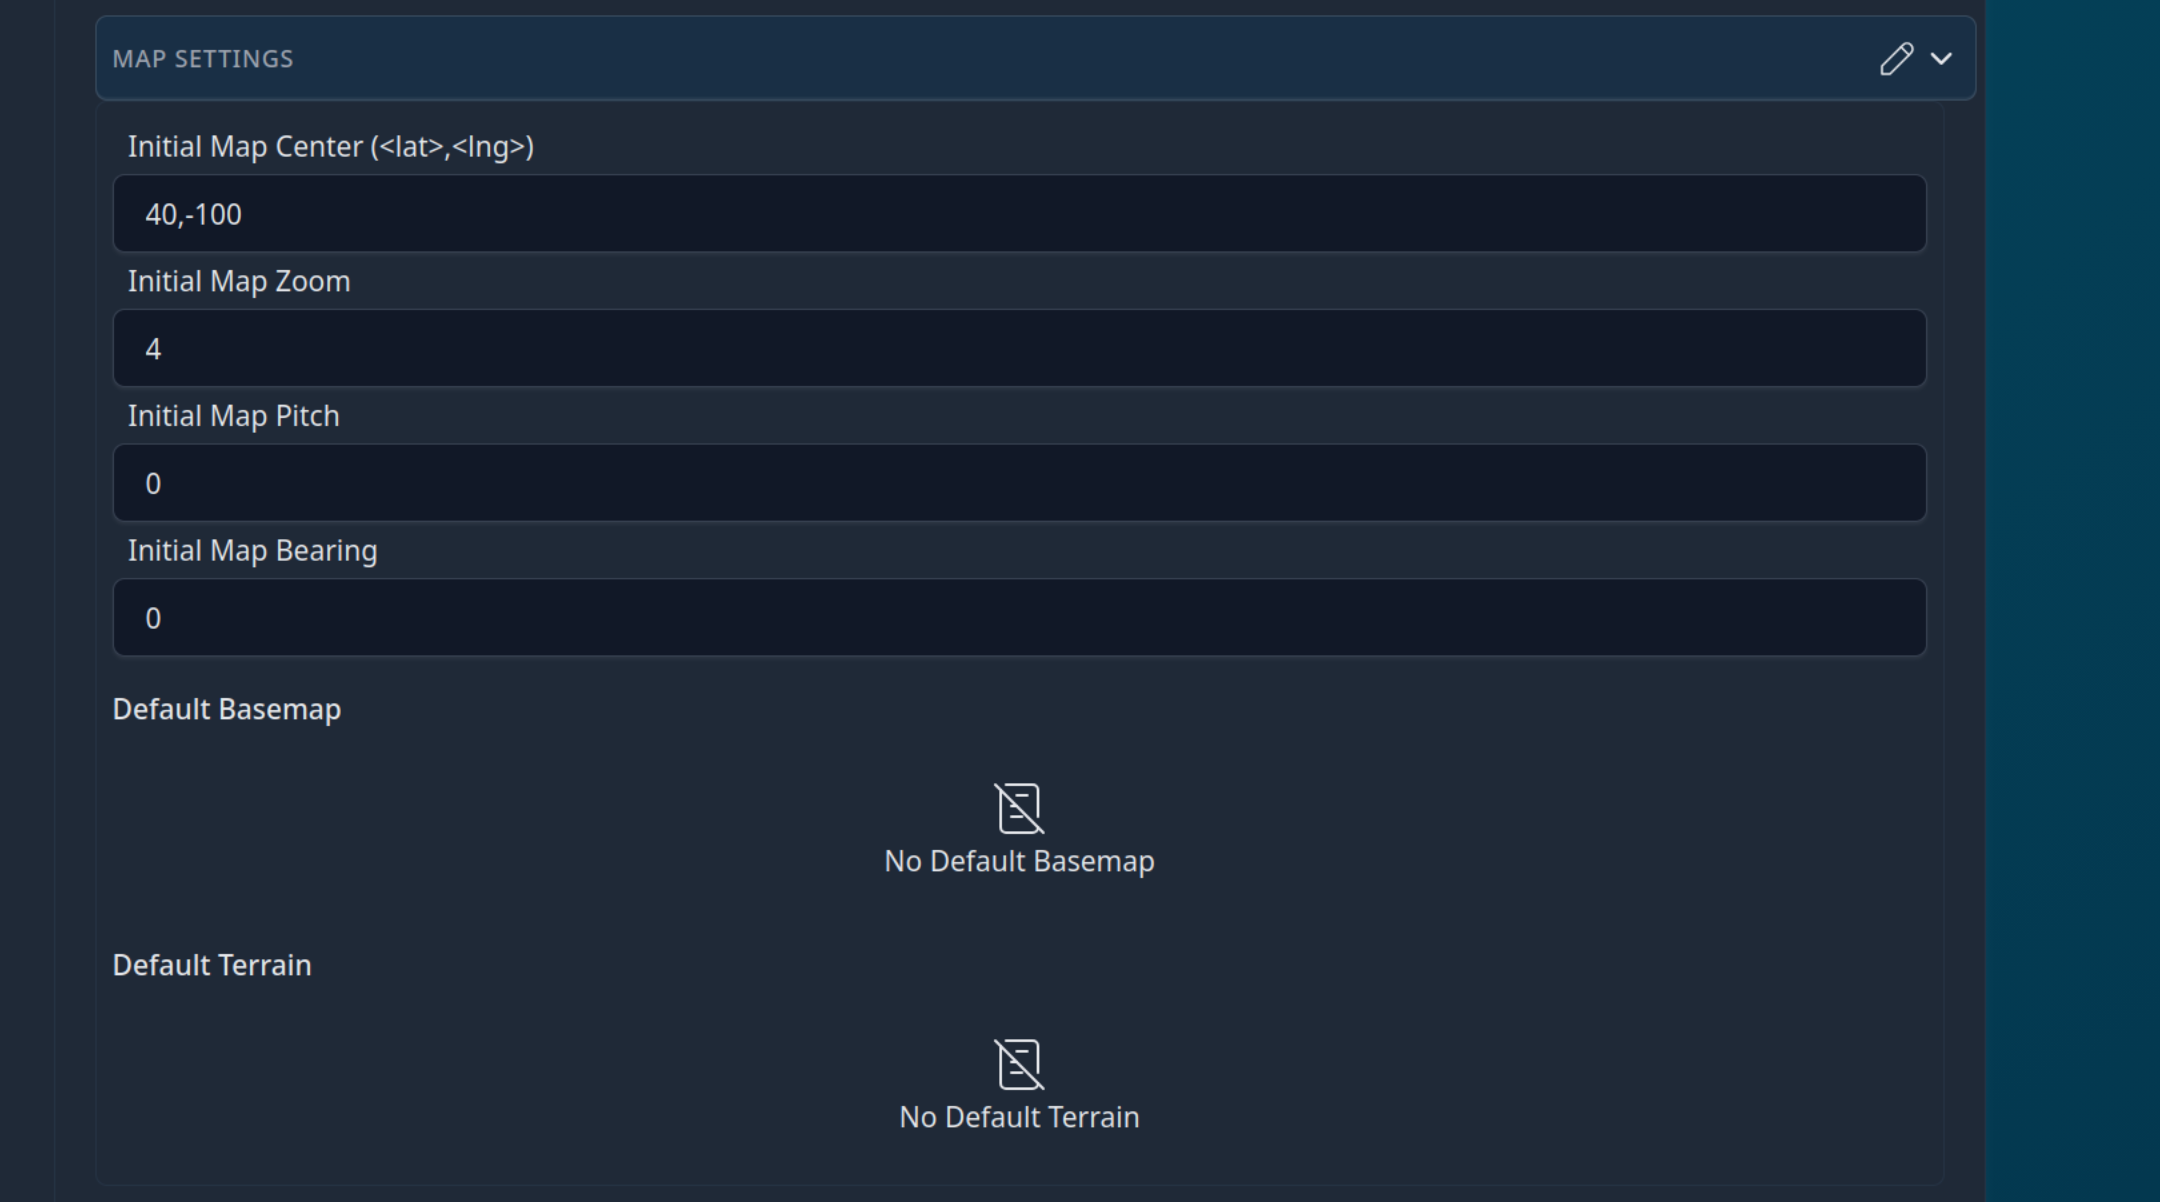
Click the Edit Pencil in the upper right-hand corner and select the DEM source that you created in the previous step.
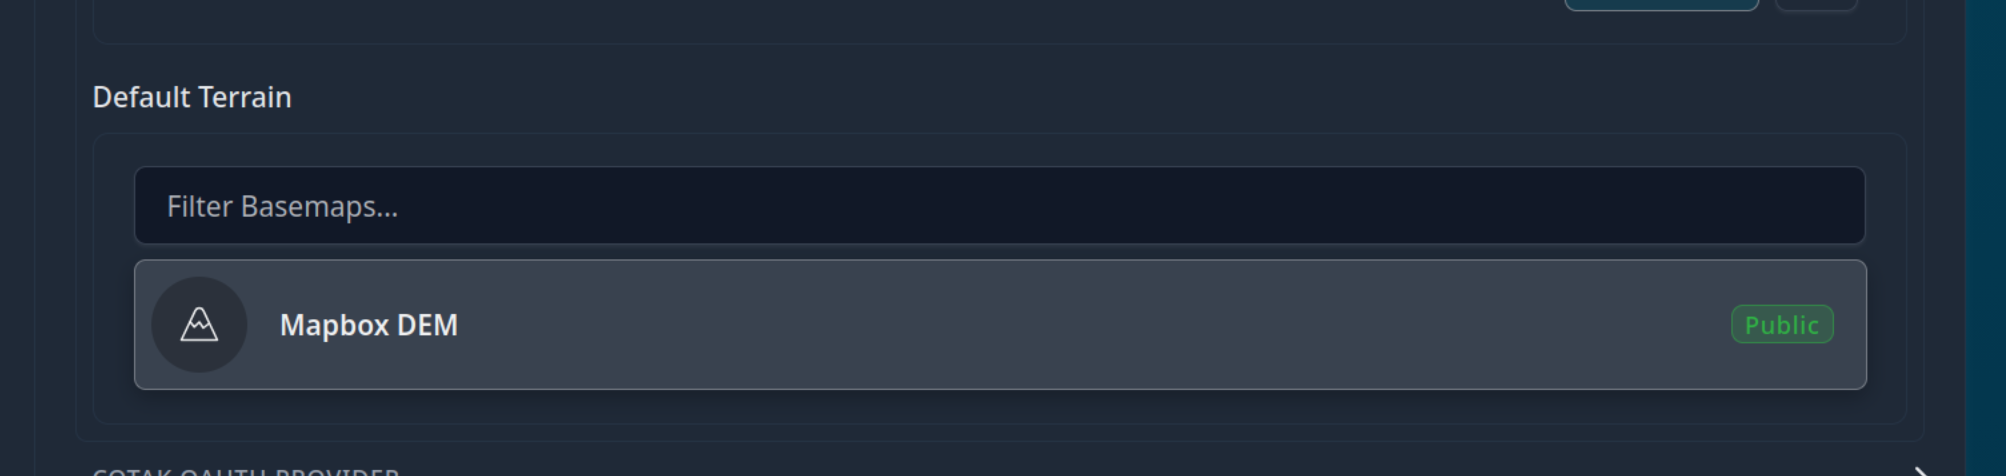
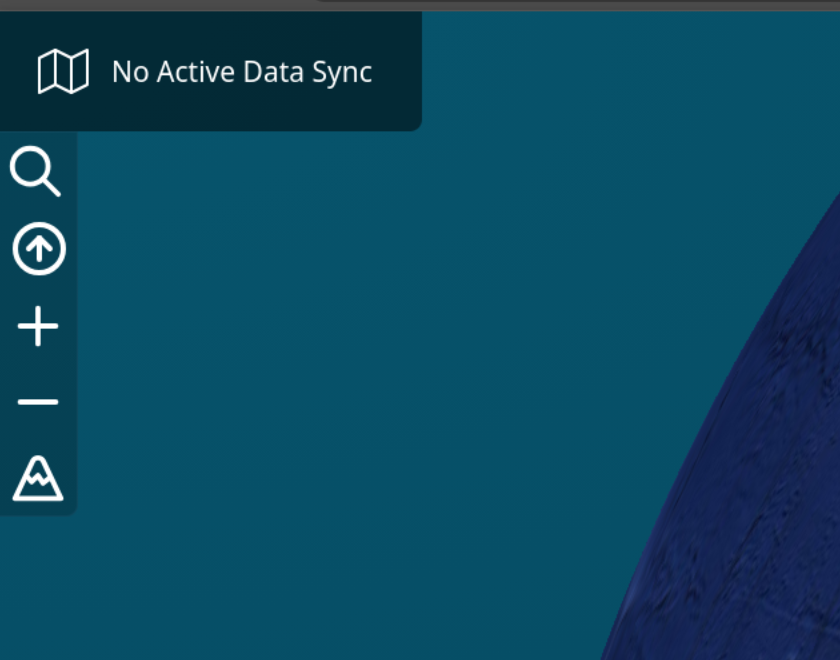
Finally click the save button in the upper right hand corner to save the new default terrain layer. Log out and then log back in and the map view will show the 3d terrain option (The Mountain Icon)
# Users🔗
The CloudTAK Users section of the Admin Panel allows you to view and configure data about active users of CloudTAK
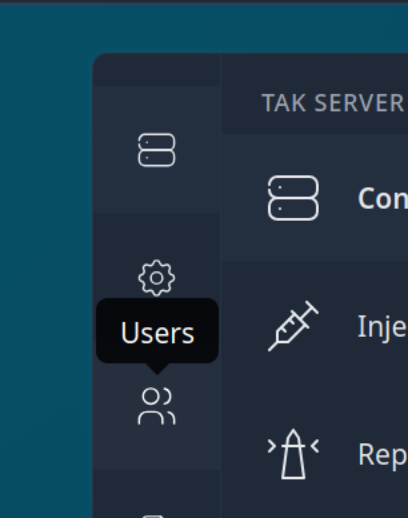
From the Admin Panel, select the user's Menu Entry on the left.
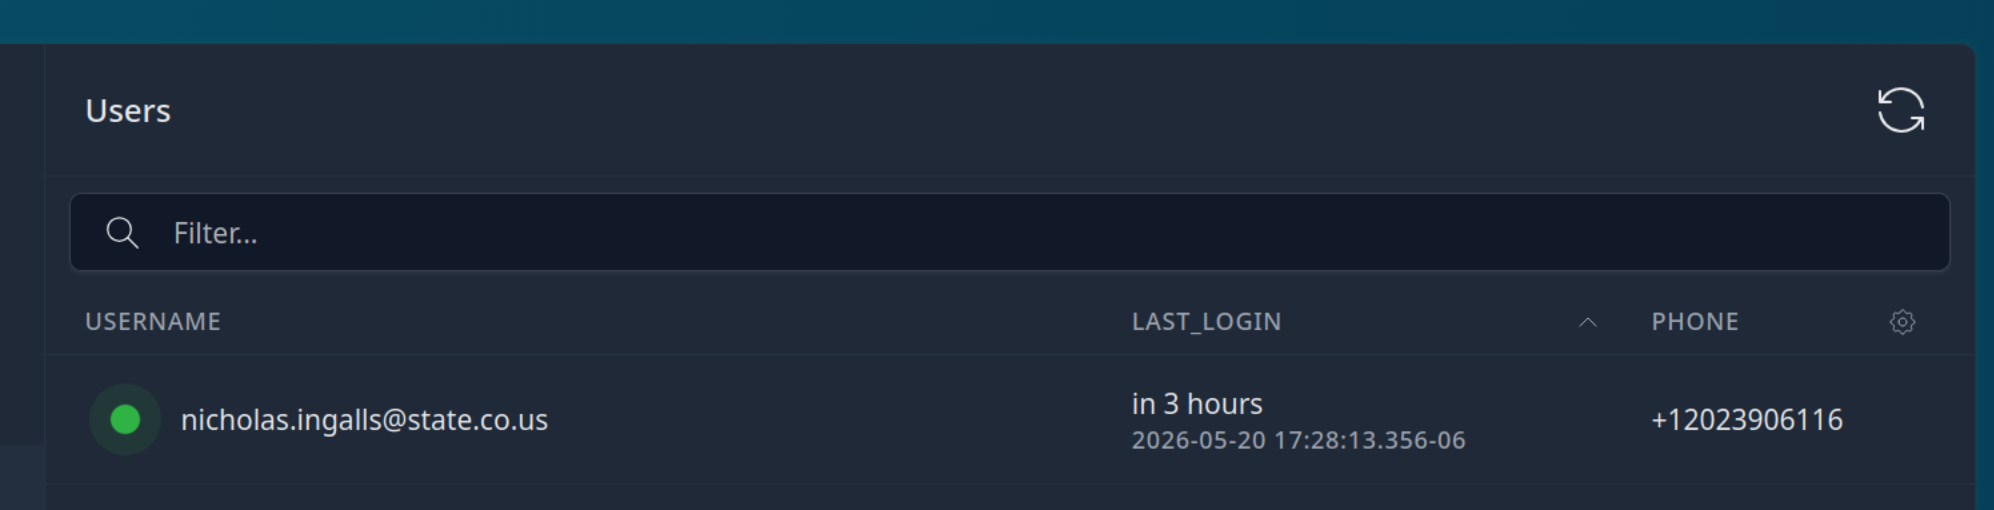
A list of users that have accessed the CloudTAK platform will appear, sorted by most recent. A green status icon indicates that they are actively connected to the CloudTAK Service.
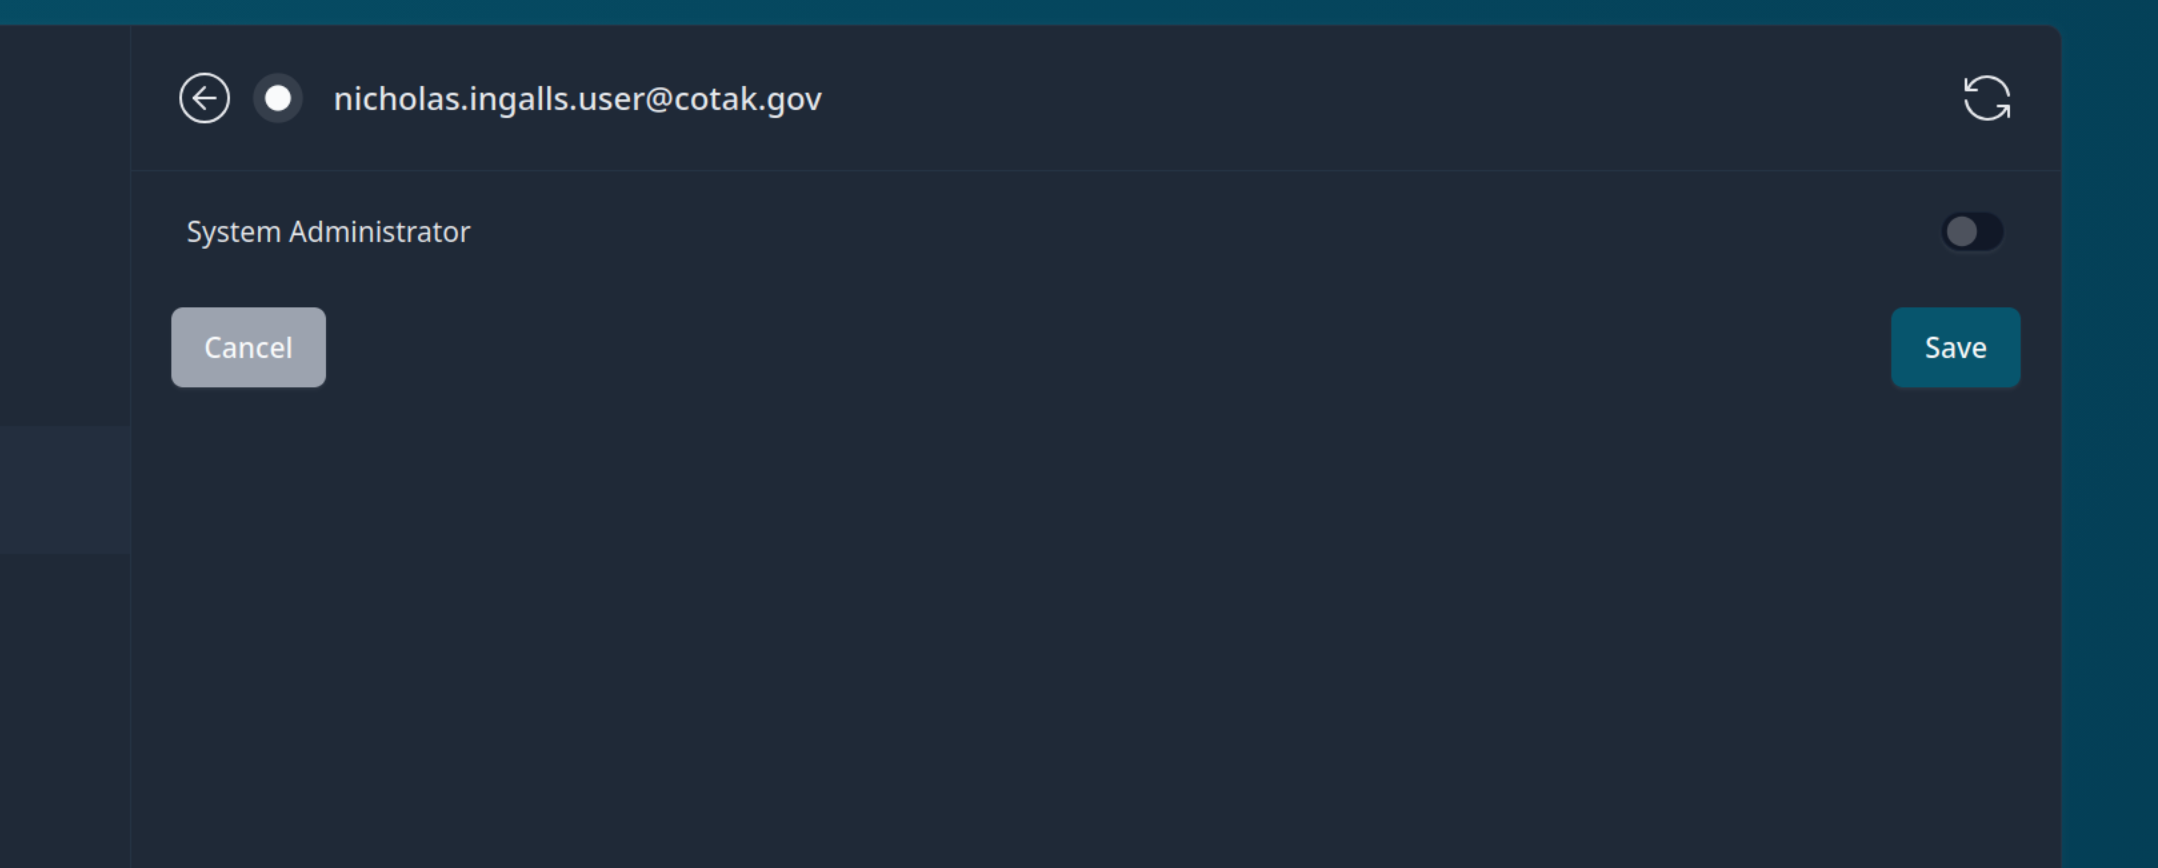
Clicking on a user will open the user profile view
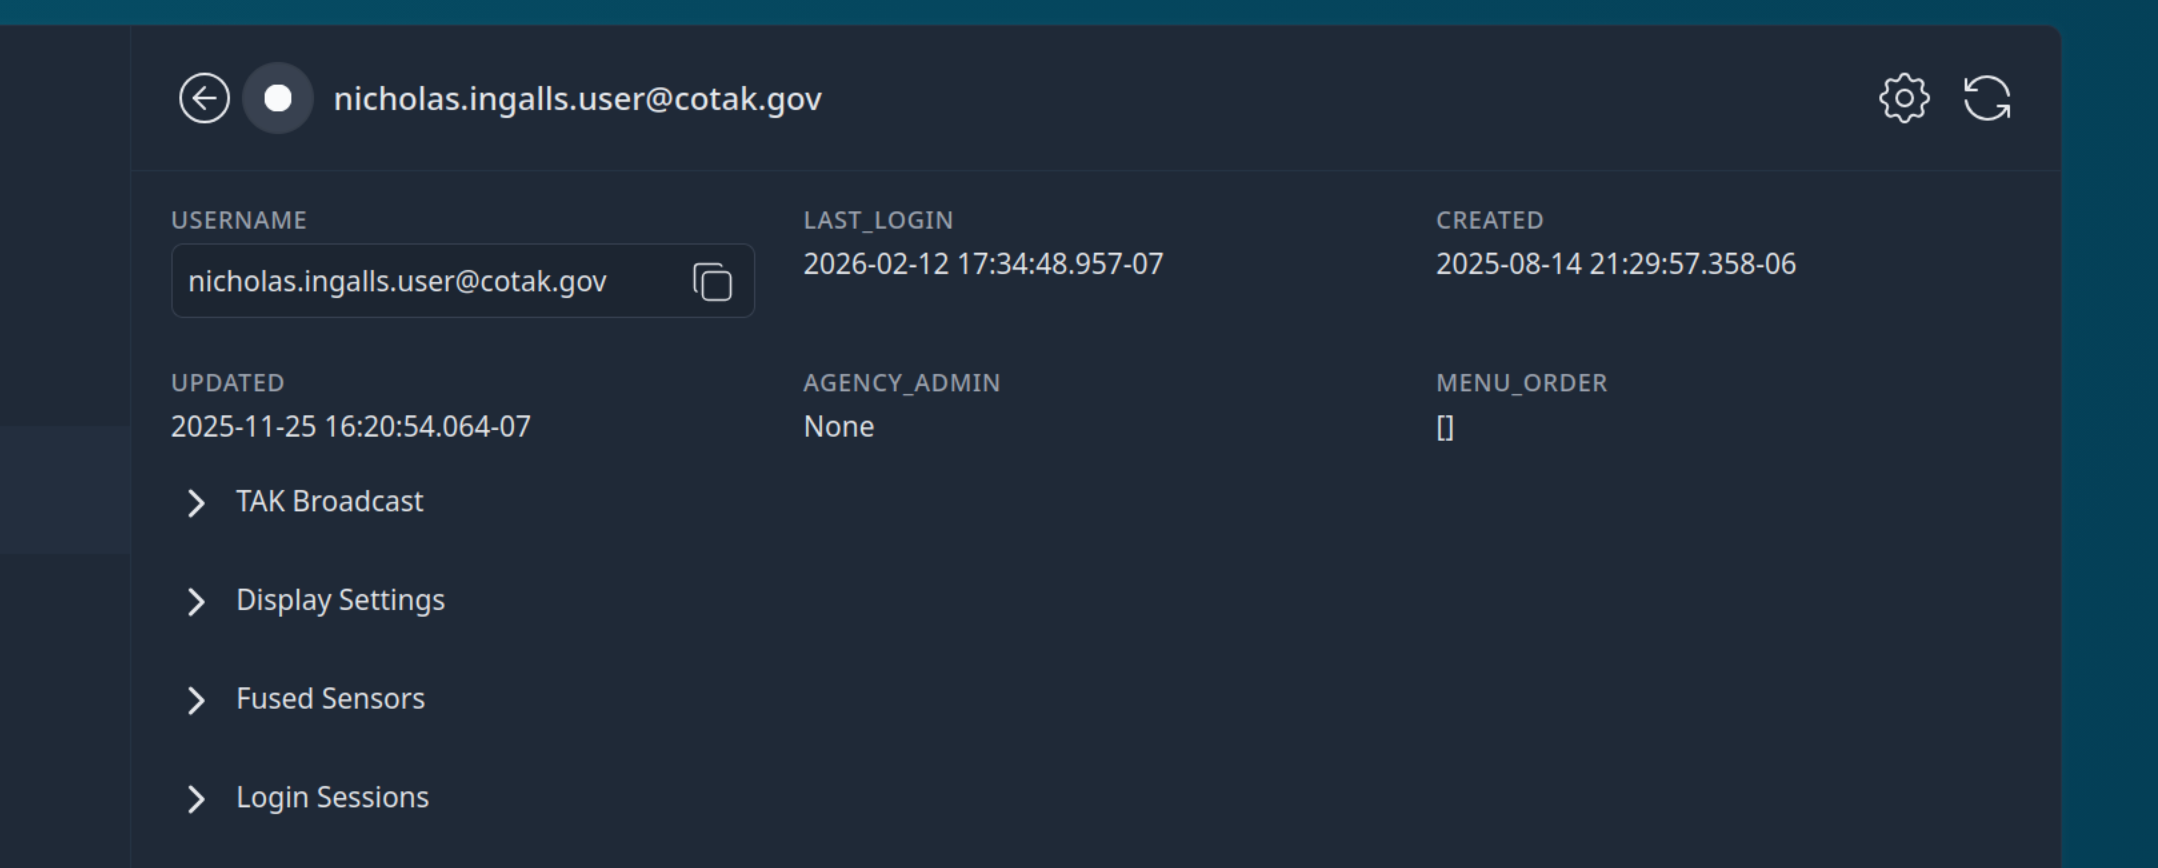
From here, admins can see default settings that the user has selected as well as editing their access level. To edit the user's access level, select the gear icon in the upper right-hand corner. An edit page will open that will allow you to indicate that a user is a System Administrator or a General User